How to Create a Family Yearbook | Erin Fox Families
July 20, 2020

So let me guess… You have all these photos of your family on your phone, and you have no idea what to do with them, how to organize them, or the best way to even enjoy them. You are not alone! I think I take an average of 10 photos a day on my phone just around the house.
Let’s be real though, what are we ever going to do with all those photos if we don’t get them off our phones? Aside from social media posts, we should be finding other ways of enjoying these special day-to-day memories.
While you may have your professional family sessions printed in an album or on the wall, getting your everyday iPhone snaps printed is just as important.
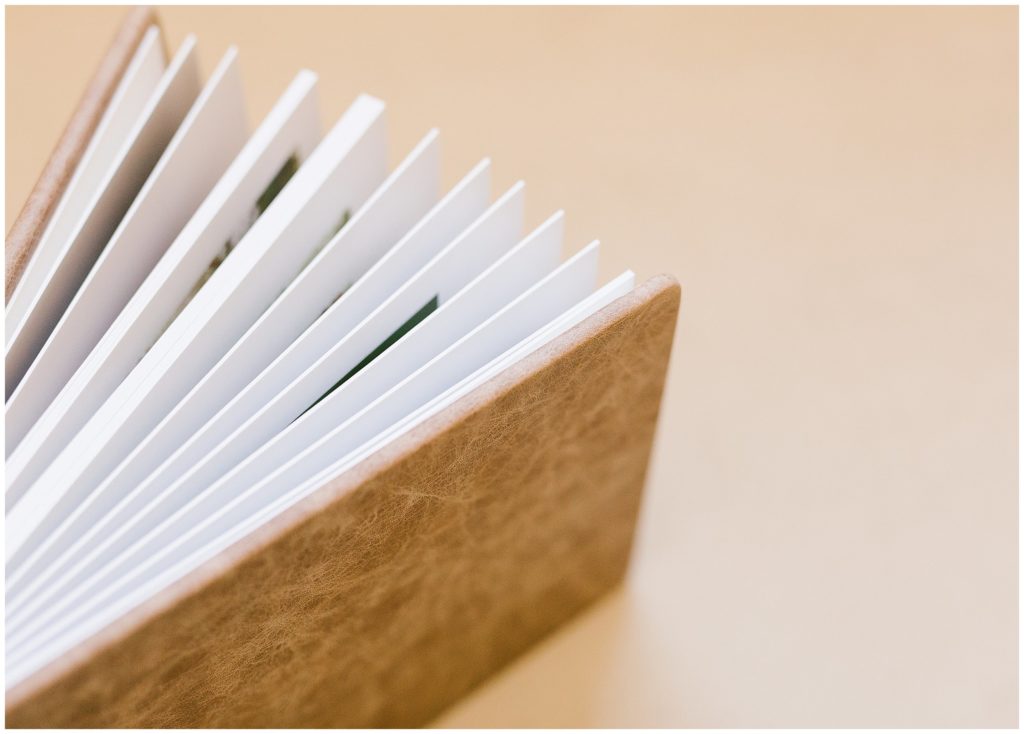
So here’s an idea! I actually do this every year now and make a simple family yearbook using Artifact Uprising. This annual photo book is a compilation of all our trips, events, and iPhone photos.
I love doing this because we can look back and see how we’ve changed, the places we visited, and the fun memories we made every day.
Making a family yearbook though… yeassshh that sounds like a chore right? But it totally doesn’t have to feel that way.
I’m going to walk you through how I organize my photos throughout the year and make a family yearbook within just one hour. This will save you.. and trust me, it’ll be so worth it to have a coffee table book that your kids can flip through every year.
Photo Organization
Every month I copy my iPhone photos onto an external hard drive or back them up on my iCloud. This is a great way to clear space off my phone, but it also reassures me that I know all my personal photos are in a a safe place.
When copying photos each month, I label and organize folders by months (2020 > January). By doing this one simple thing, I save myself so much headache and time. Instead of scrolling through a crowded camera roll, I’m going directly to the 2020 folder and looking in the January month folder for the specific image I need, for example.
This monthly routine is what allows me to to design and order our family yearbook in just one hour.
Yearbook Creation
I organize the book by season (winter, spring, summer, fall). I upload each folder of images off my hard drive and label them in Artifact Uprising’s design tool. I use their pre-made page layouts to design, plugging in photos by month and making division pages by season.
I avoid captioning each image… because well, that takes a load of time. You can do that if you want, or you can take my simplified approach. At the beginning of every season, I write a summary of what we did that month.
The beauty is that you can make your book as short or long as you’d like! There are several beautiful cover options to choose from and it design tool walks you through all the specifics.
Once I’m finished designing, I pick out my cover and add to my cart! Voila!
I love how simple and easy-to-use Artifact Uprising is, and the quality of my book is perfect for a coffee table style book.
Now when should you do all this? That’s totally up to you. I like to wait until January 1st to start designing the previous year’s book. It’s a part of my new year routine now, but you could design throughout the year if you wanted to get a head start.
I can’t wait to one day have kids and show them all the travels and memories we made in our newlywed years. A family yearbook is such a fun way to look back on the beauty of every day and the sweet times you share together as a family!
There are a few other companies that offer a similar type of book..
Chatbooks uses the photos and captions you post directly from Instagram.
In addition, there’s a super cute baby journal book company called Write to Me. They sell journals that document all of baby’s firsts, and include space to write and paste photos.
If you like this post, you may also enjoy My Secrets to Organizing Your Family Photos.